Spaces
Small Coffee Bar Storage Ideas
The most useful small coffee bar storage follows frequency, not appearance: keep the current brew within one reach, refills behind a door or in a drawer, and cleaning supplies close enough to use without…
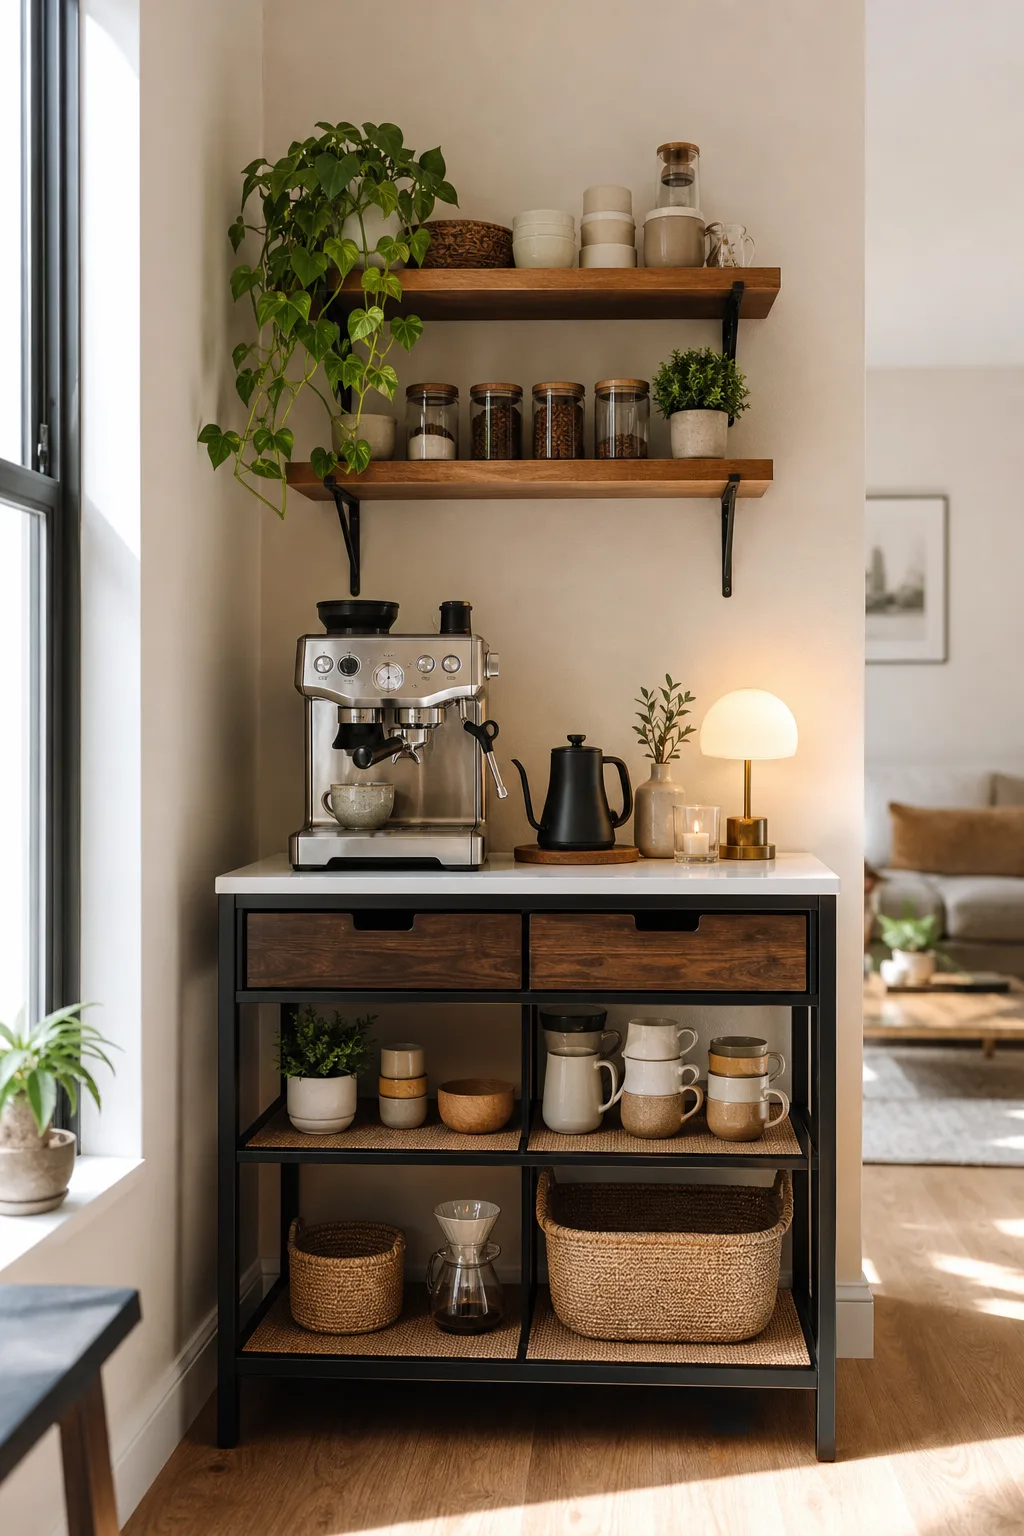
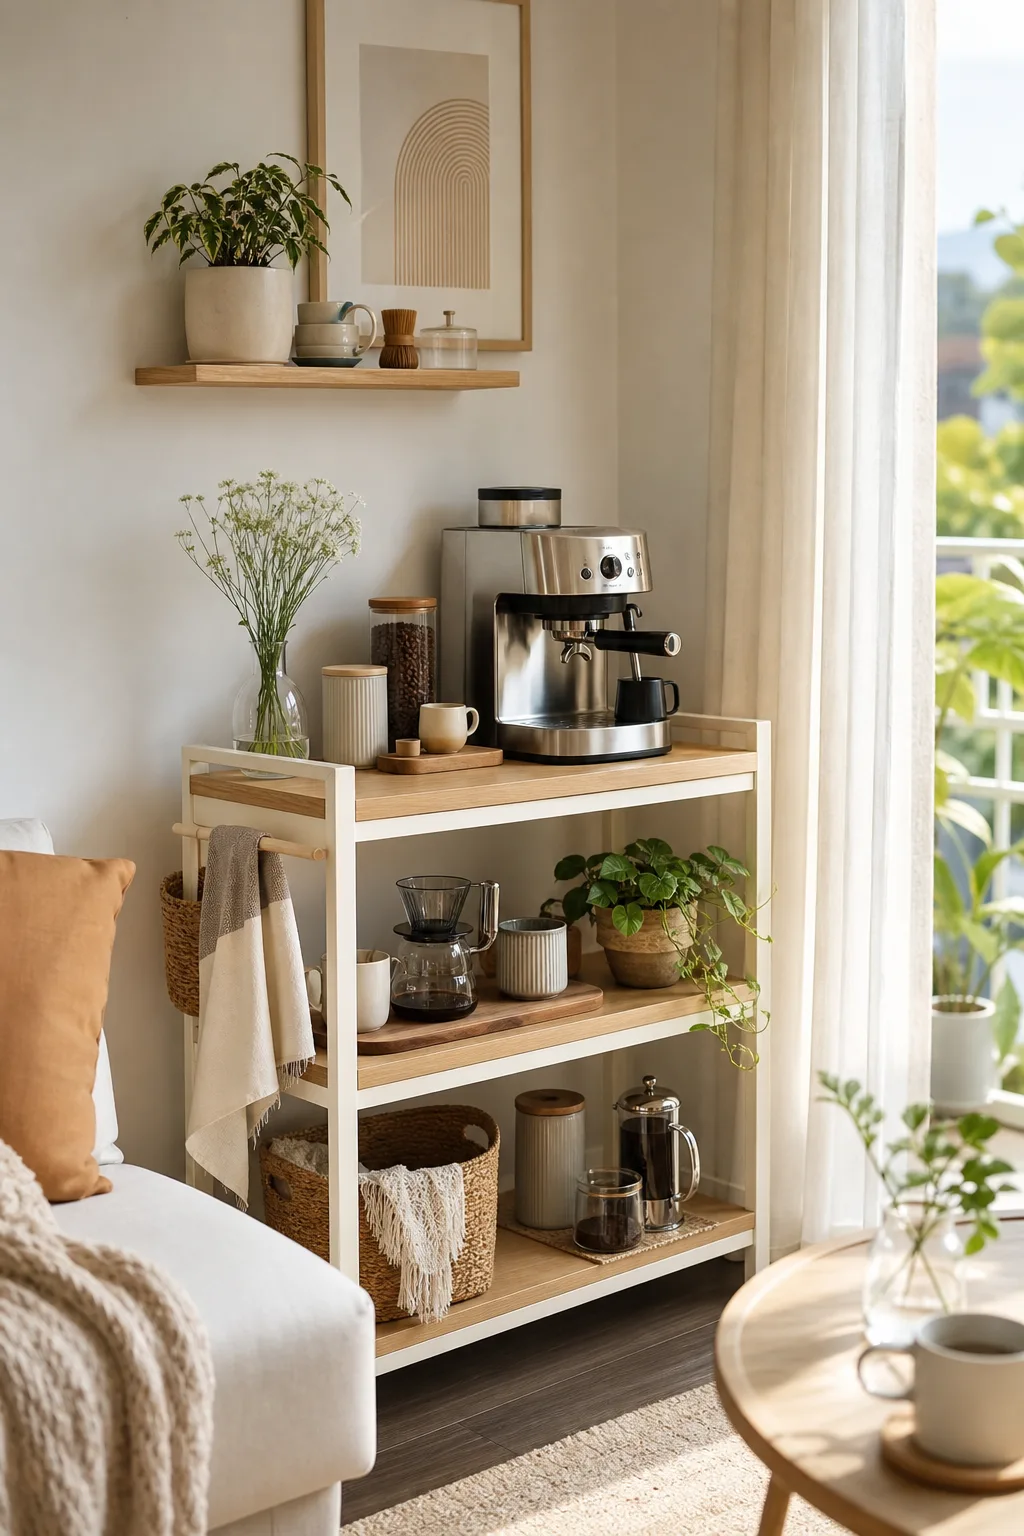
The most useful small coffee bar storage follows frequency, not appearance: keep the current brew within one reach, refills behind a door or in a drawer, and cleaning supplies close enough to use without sharing space with cups or food. Before buying an organizer, assign every item to one of those three zones.
Start with a one-week counter audit
Place a temporary box beside the coffee station. Each time you use an item, return it to the counter; put everything else in the box. At the end of seven days, the counter group is your daily kit. The box contains occasional tools, duplicates and refills that do not deserve prime space.
Measure the daily kit in its operating position. Include the room needed to open the water tank, lift a grinder lid, remove a portafilter and set down a wet dripper. Storage that fits the closed appliance but blocks those motions has not created usable space.
Zone 1: one-reach brewing storage
Keep only the brewer, grinder, scale and one container of daily filters or pods at counter level. A shallow tray can define the work area and catch stray grounds, but it should not sit under vents, trap an appliance cord or prevent removal of the drip tray.
Use a drawer directly below for the tamper, scoop, cleaning brush and spare filter papers. Divide the drawer by action rather than object type: measuring tools together, puck-prep tools together and cleanup tools together. If the drawer must remain open while brewing, move the most-used items to the front so it does not block the aisle.
Zone 2: vertical storage for light items
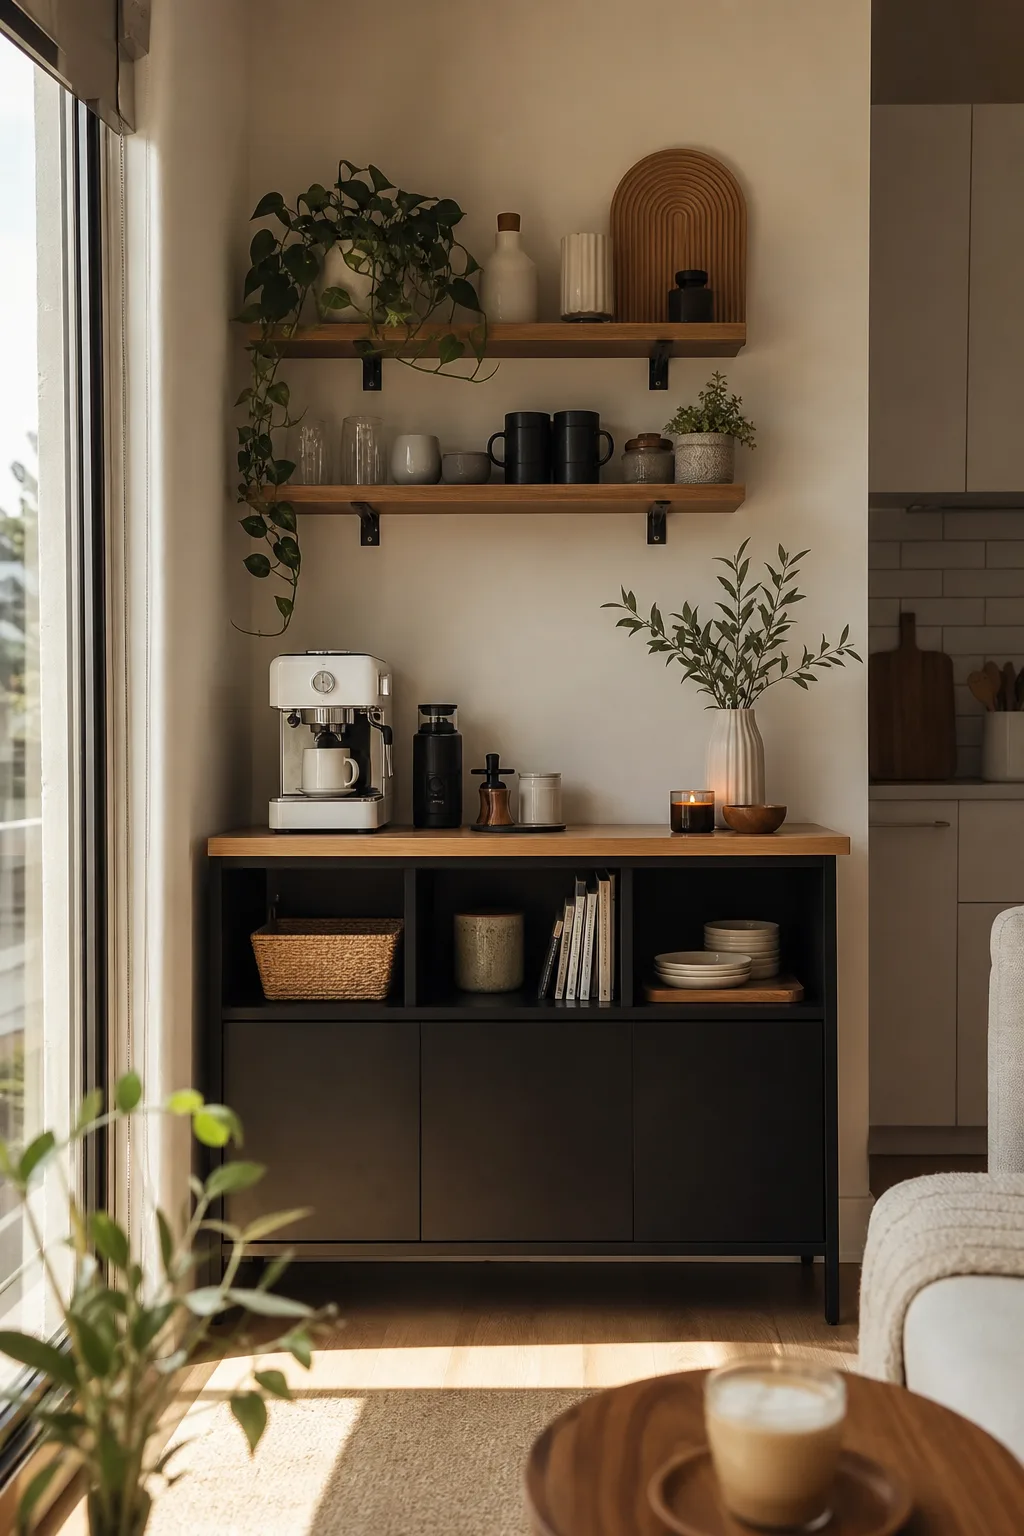
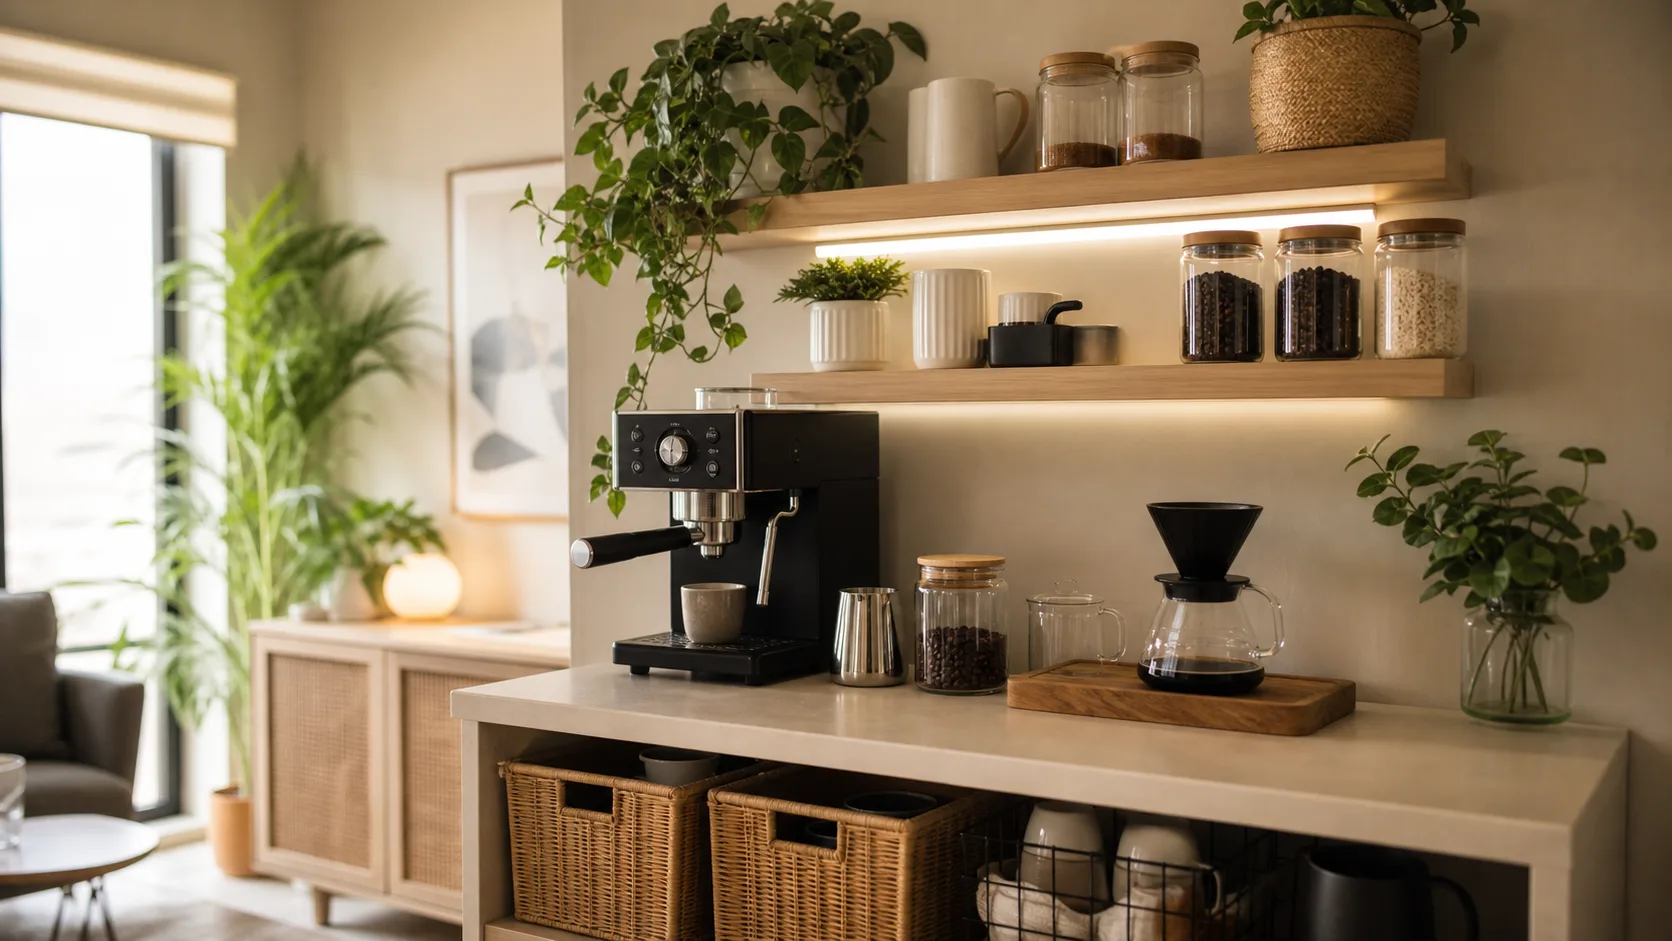
The wall above a coffee bar is best for lightweight, dry supplies: empty mugs, paper filters, a small print or an open bin of napkins. Measure every appliance with its lid fully open before adding a shelf. Check the shelf manufacturer’s load rating, use the specified anchors and follow your lease before drilling.
Avoid storing glass jars, heavy appliances or bulk liquids over the brew surface. A lower cabinet shelf or sturdy drawer is a better home for weight. If children can climb or pull on a freestanding unit, use secured storage instead; the Consumer Product Safety Commission warns that climbing or pulling on furniture can cause tip-over injuries.
Zone 3: hidden refill storage
Choose one cabinet shelf, pantry bin or lidded basket for unopened coffee, extra filters and backup syrups. Label the front with a broad category—coffee, filters or drink extras—so you can see inventory without unpacking it. Store food separately from household cleaners, and keep each cleaning product in its original labeled container as directed.
Set a physical limit: one bin per refill category. When the bin is full, use what you have before buying another package. This prevents a small station from becoming a second pantry.
Four storage fixes for common layouts
No drawer below the counter
Use one handled caddy that can move between a cabinet and the brew zone. It should hold tools, not the hot appliance. Return it after the counter is dry.
Deep cabinet with lost items at the back
Use two removable bins: daily refills in front and unopened backup stock behind. Pulling one bin is easier than reaching around loose bottles and bags.
Narrow cart
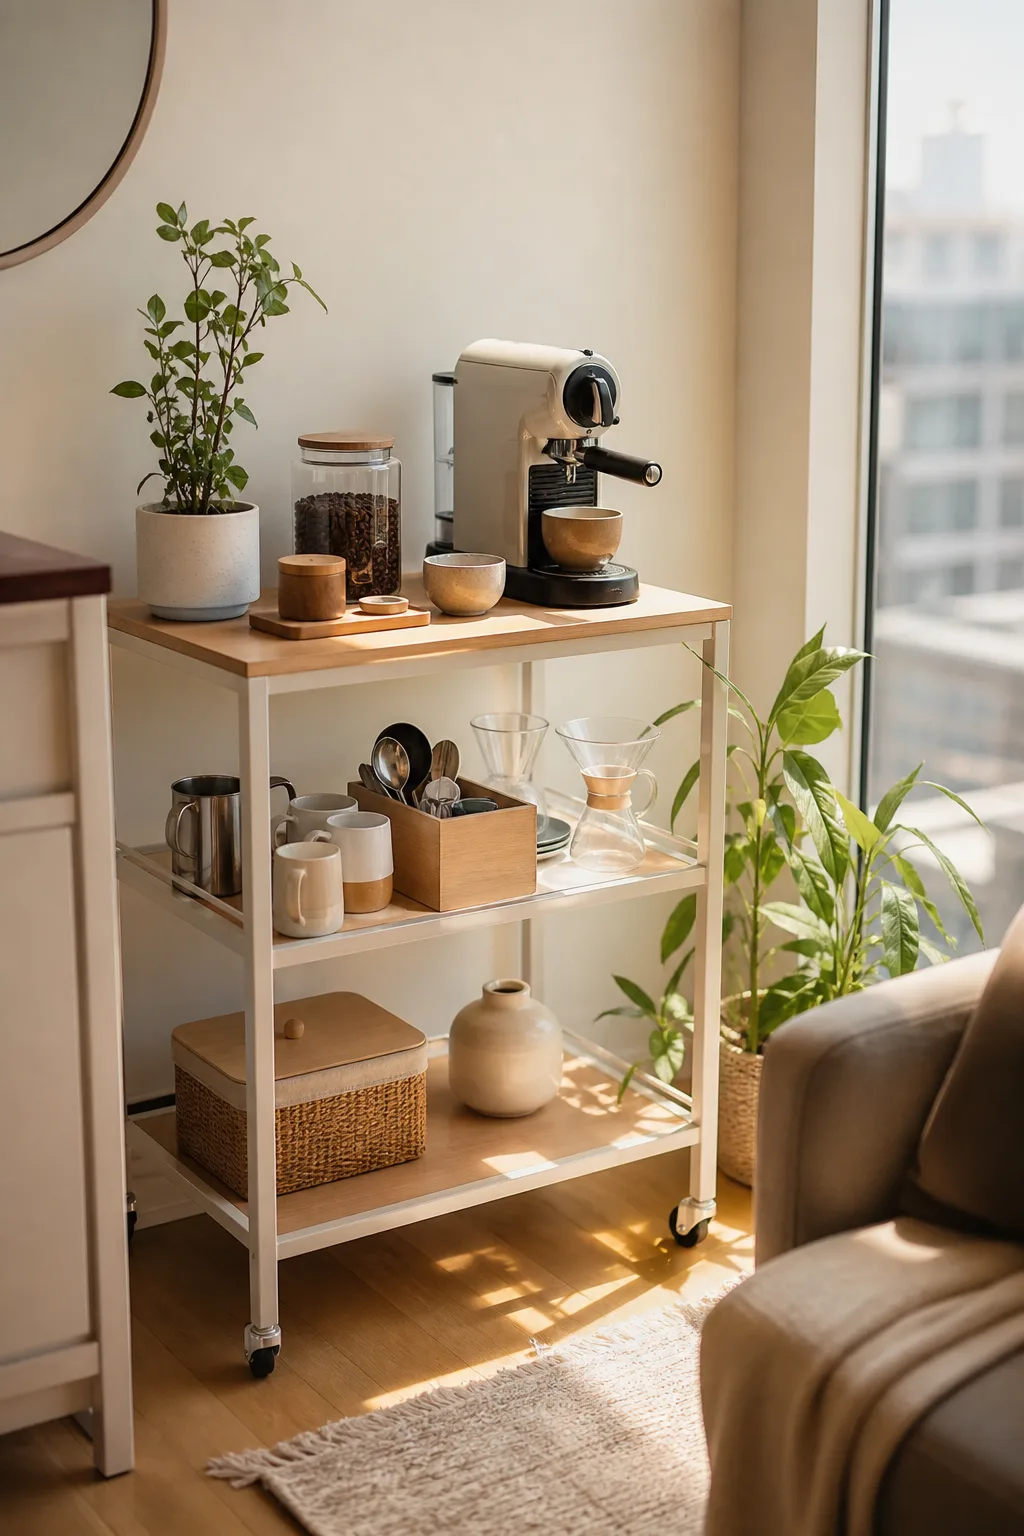
Keep the top as the working surface, daily cups in the middle and heavier backup supplies low, within the cart’s stated shelf and total load limits. Lock the wheels or park the cart so it remains stationary during brewing.
Shared kitchen
Give each person one mug position and one small flavor bin. Keep shared coffee and filters in the center. A visible boundary reduces the need to reorganize someone else’s supplies.
Keep power and water visible
Do not hide a cord behind bins or route it through a drawer. U.S. Fire Administration guidance treats a coffee maker as a heat-producing appliance: connect it straight to a wall receptacle, do not run another heat-producing appliance from that outlet at the same time, and reserve extension cords for temporary use. If storage requires a permanent extension cord, relocate the station.
End each day by discarding grounds, wiping the work zone and returning tools to their assigned position. Once a month, empty only the refill zone, remove expired or unused items and confirm shelves, casters and organizers remain secure. The system is working when the counter resets without moving the brewer or opening more than one storage zone.
Sources
Continue reading