Spaces
How to Style an Espresso Setup
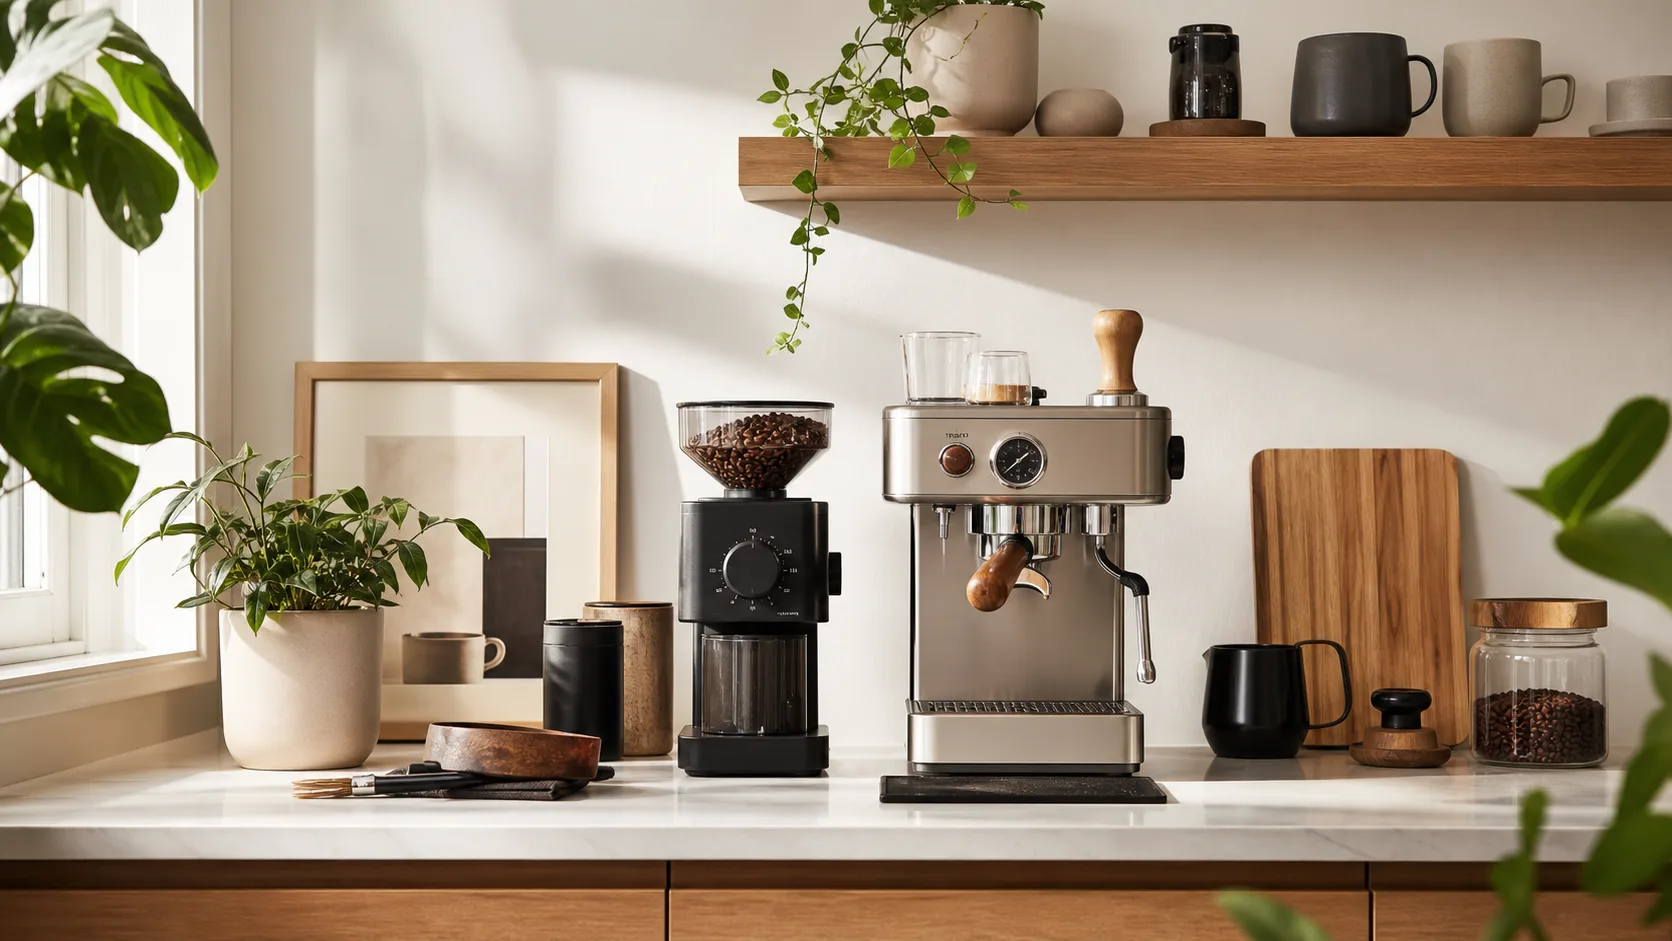
Style an espresso setup by treating the machine as the visual anchor, containing the messy work beside it and moving everything else out of the first sightline.
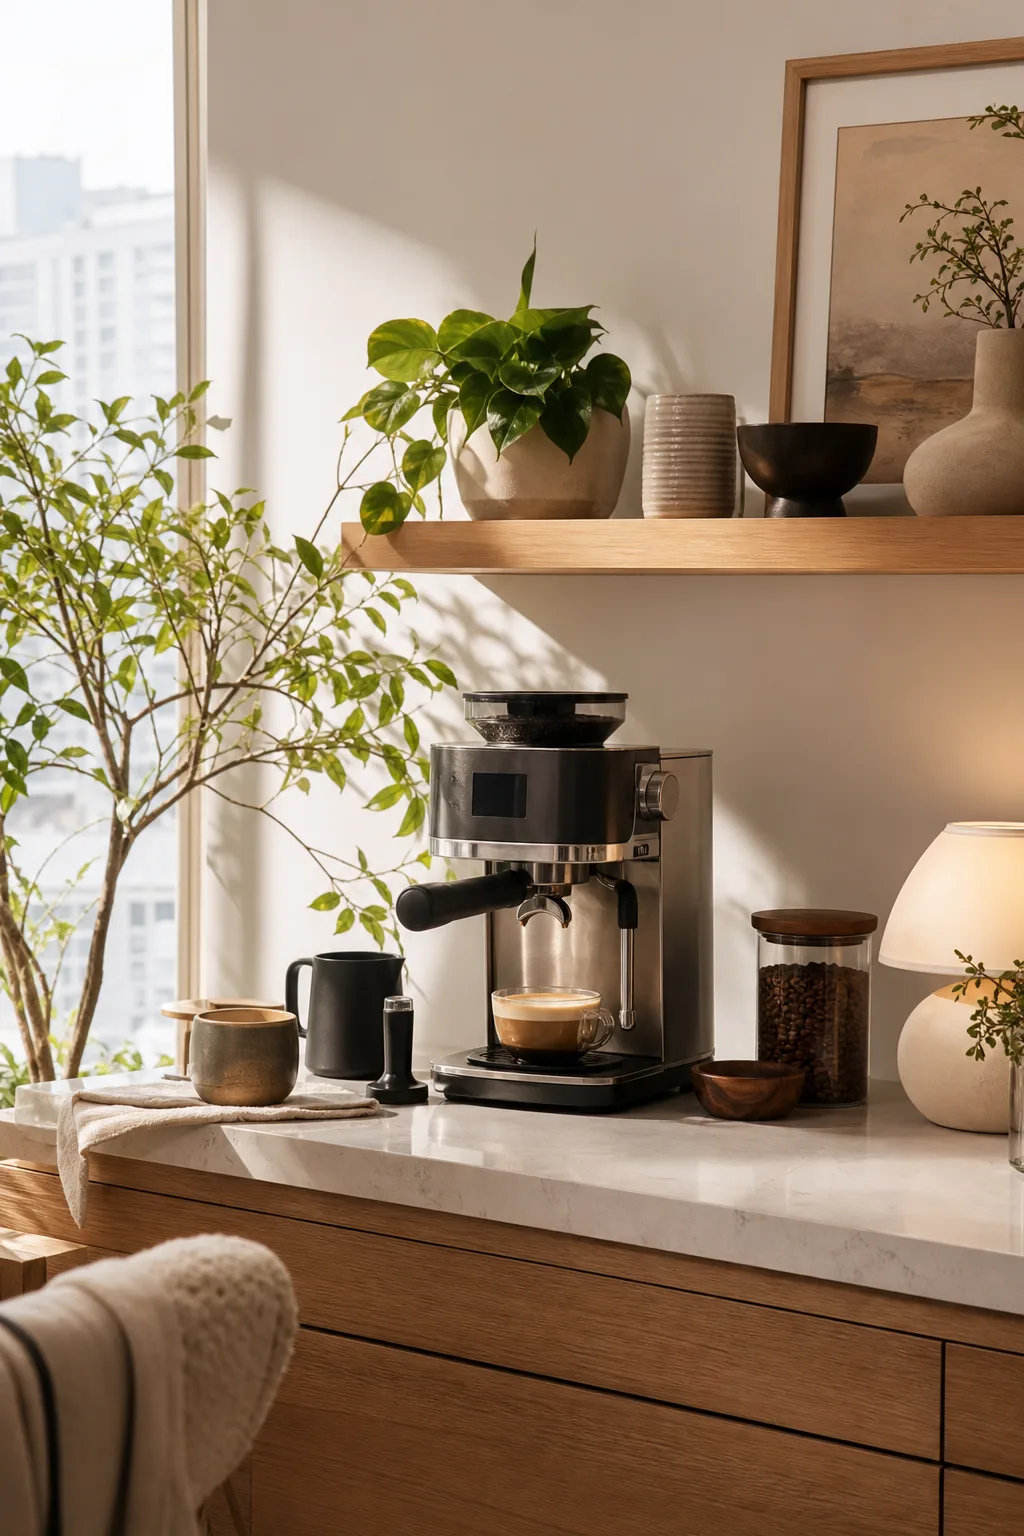
Style an espresso setup by treating the machine as the visual anchor, containing the messy work beside it and moving everything else out of the first sightline. The result should still let you remove the portafilter, open the water tank and wipe the counter without rearranging decor.
Pass 1: Clear the operating outline
Remove everything except the espresso machine, grinder, scale, tamper, milk pitcher and cleaning cloth. Open the tank or bean-hopper lid, swing the steam wand and remove the portafilter. Anything that blocks those motions belongs elsewhere.
Leave one empty landing area beside the machine for a cup, pitcher or hot portafilter. Do not style over it. Keep paper, towels, coffee bags and other combustible clutter away from hot surfaces and follow the clearances in the exact appliance manual.
Pass 2: Choose the visual anchor
If the machine has a strong color or polished finish, let it lead. Repeat one of its finishes once—for example, a stainless-steel pitcher near a stainless machine—rather than matching every object. With a black or white machine, use one warmer material such as wood, cork or a neutral linen to keep the counter from feeling clinical.
Keep the palette to the machine finish, one neutral and one accent. This is a styling rule, not a requirement: its purpose is to make mismatched tools read as a group. If a bright grinder is the object you love, make that the accent instead of hiding it.
Pass 3: Contain the work, not the machine
Use a shallow tray or tamping mat only under the grind-and-tamp zone. It should catch stray grounds without trapping the machine’s feet, vents or drip tray. Store beans in their original resealable bag or an appropriate container in a nearby cabinet; you do not need decorative jars on the counter.
Put the cloth on a hook, rail or small open bin where it can dry. Keep cleaning tablets, descaler and spare parts out of the display, labeled and stored according to their instructions. Two daily cups may sit on top of a stable cup shelf if the manufacturer permits it; a full mug collection is better in a cabinet.
Pass 4: Style the wall carefully
One small print or narrow shelf can frame the setup, but measure the machine with every lid open first. Renters can use a freestanding backsplash panel or artwork resting on a separate ledge when the lease restricts holes. Do not lean art against an appliance or route cords behind a removable panel where damage becomes hard to see.
Electrical placement is part of the composition. The U.S. Fire Administration advises plugging one heat-producing appliance, such as a coffee maker, directly into a wall outlet at a time and using extension cords only temporarily. If the styled location depends on a permanent extension cord, move the setup rather than disguising the cord.
Pass 5: Edit from the room entrance
Stand where you first see the setup. Remove duplicate tools, labels facing randomly and objects that rise above the machine without serving the routine. Then view it from the brewing position: the scale, tamper and cloth should remain reachable in one step.
Finish with a reset rule. After the last drink, discard the puck, wipe the steam wand and counter as the manuals direct, empty the drip tray when needed, return the tamper and leave the landing area clear. A setup that looks good only before brewing is staged; a styled setup returns to its composed state through the normal cleanup routine.
Sources
Continue reading