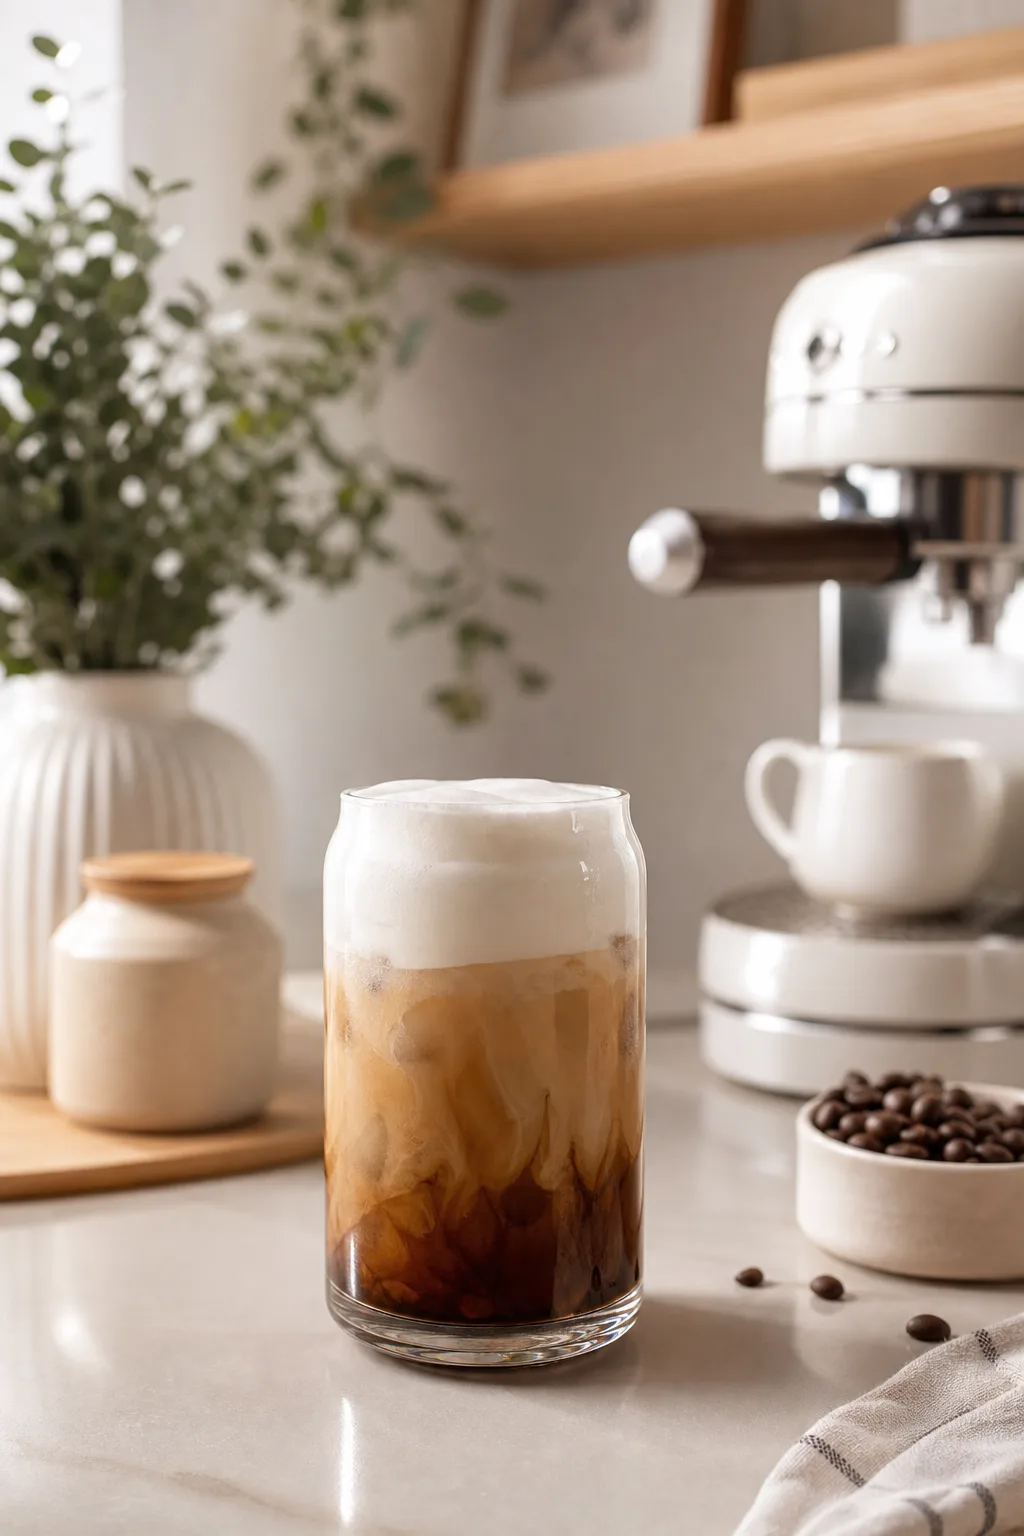
Recipes
How to Make Stable Cold Foam at Home
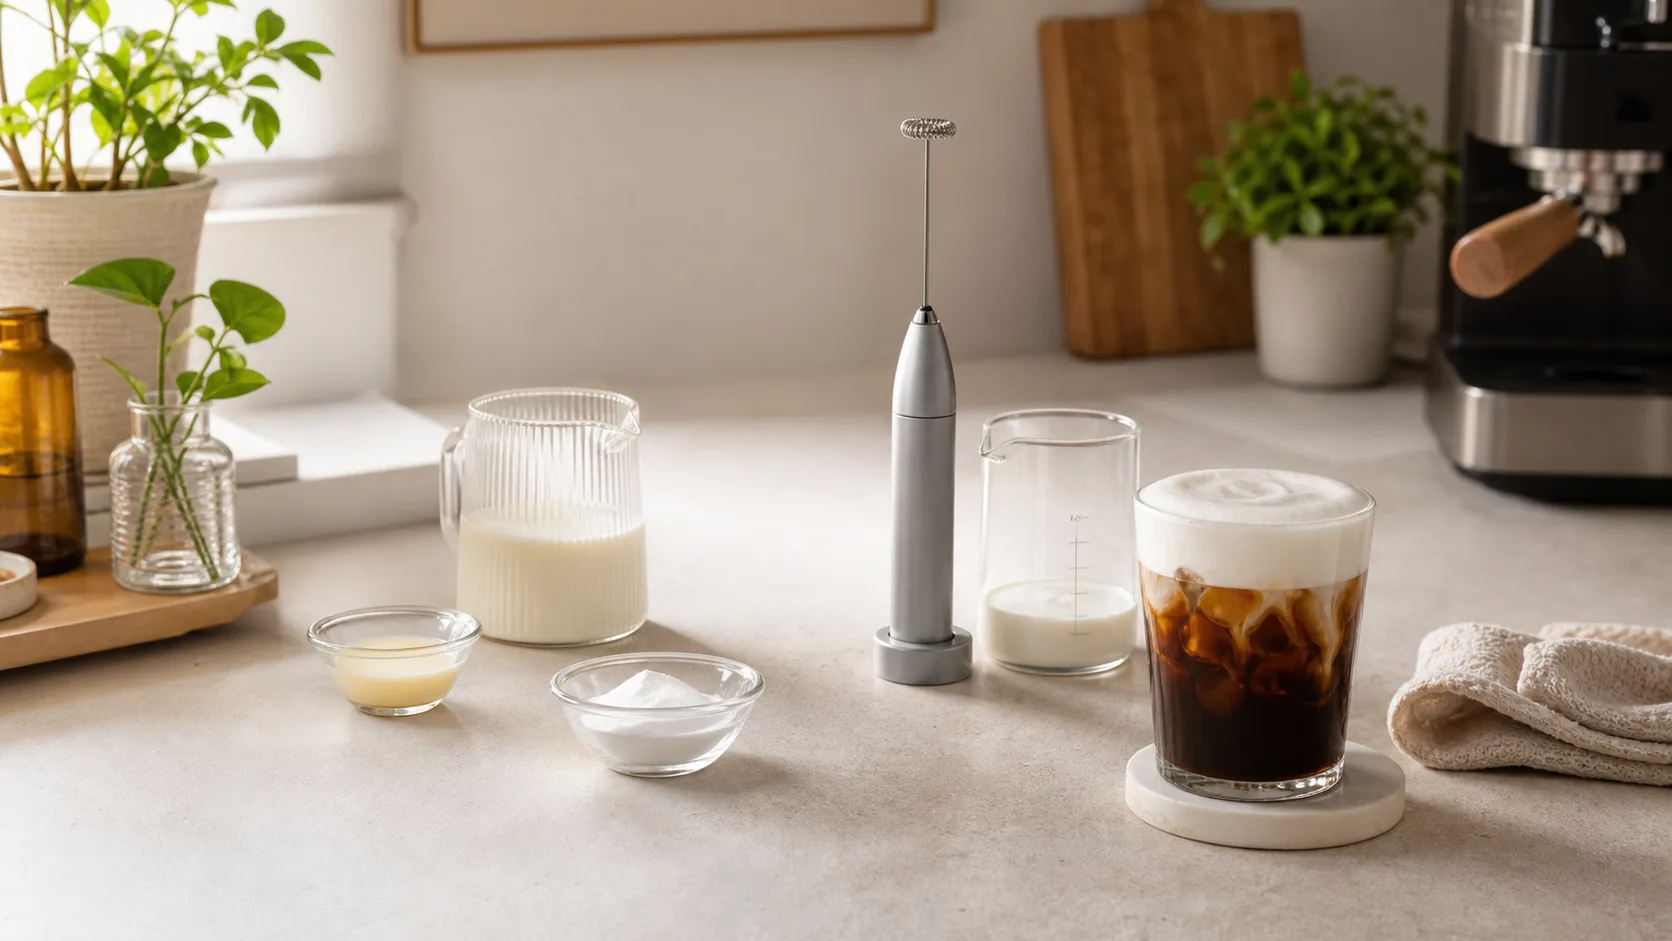
For one drink, start with 1/4 cup (60 ml) very cold 2% milk, 1 teaspoon powdered sugar and 1/8 teaspoon vanilla extract.
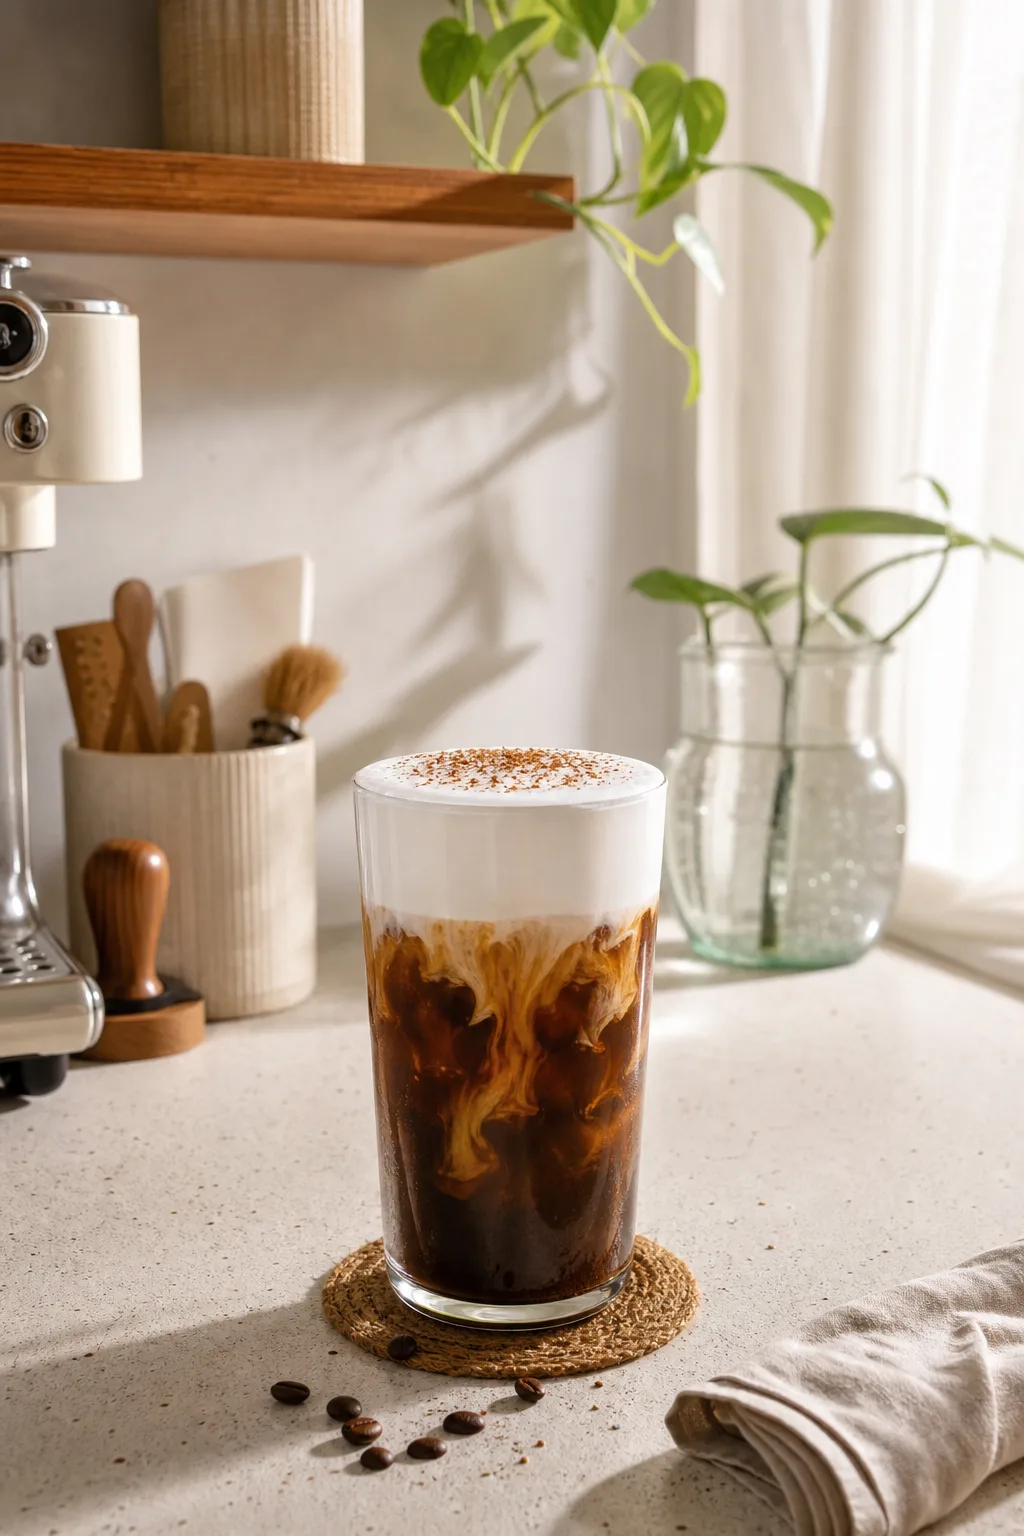
For one drink, start with 1/4 cup (60 ml) very cold 2% milk, 1 teaspoon powdered sugar and 1/8 teaspoon vanilla extract. Froth in a narrow container until the volume increases and the surface looks glossy, with bubbles too small to distinguish easily. Stop while the foam still pours in a slow ribbon. Spoon or pour it over a fully assembled iced drink and serve immediately.
That small batch is easier to control than a full cup of milk, and it follows the scale of an official Starbucks at-home cold-foam recipe, which uses 1/4 cup of 2% milk for one serving. The version below reduces the sweetener so you can adjust it to the drink underneath.
Base formula for one drink
- 1/4 cup (60 ml) cold 2% milk
- 1 teaspoon powdered sugar
- 1/8 teaspoon vanilla extract, optional
- One iced coffee, cold brew, iced tea or matcha, already prepared
You also need a narrow cup or small pitcher and a handheld frother. A container that is only partly filled gives the liquid room to expand without spraying the counter.
Powdered sugar is convenient because it disperses quickly in cold liquid. If your drink is already sweet, omit it and froth the milk alone. Flavoring should support the foam, not turn the mixture into syrup.
What “stable” cold foam should look like
Stable does not mean stiff. Cold foam for a drink should form a light cap that survives the trip from counter to table but still mixes as you sip. Look for three signs:
- The liquid has visibly increased in volume.
- The top is glossy rather than dry or clumpy.
- A spoonful sits briefly on the drink, then relaxes around the edges.
If the foam stands in hard peaks, it is closer to whipped cream than sip-through cold foam. If it disappears as soon as it touches the drink, the bubbles are too large, the base is too warm or the mixture has not been aerated enough.
Handheld-frother method
- Chill the ingredients and container. Cold ingredients give you more working time before the foam loosens.
- Combine the base. Add the milk, sugar and vanilla to a narrow cup. Stir once so dry sugar is not sitting on the surface.
- Start below the surface. Place the frother head just under the milk before switching it on. This reduces splashing.
- Introduce air briefly. Raise the whisk toward the surface for a few seconds, then move it slightly deeper to break up large bubbles.
- Stop by texture, not by the clock. Many handheld frothers will reach the right stage in roughly 20–40 seconds, but motor speed and container shape vary. Stop when the foam is glossy and pourable.
- Serve over the finished drink. Fill the glass with coffee and ice first. Add foam last so you do not crush it while stirring the base.
The official Starbucks recipe also allows a handheld frother or a manual cold-frothing method. The useful takeaway is the process—cold ingredients, a small batch and controlled aeration—not a promise that every tool needs the same number of seconds.
No handheld frother? Use one of these methods
Sealed jar
Add the ingredients to a clean jar no more than half full. Close it tightly and shake for 30–60 seconds. The result usually has larger bubbles than whisked foam, so let it stand for 10 seconds and spoon the finer foam from the top.
French press
Use a small amount of milk and move the plunger through it in short strokes. Stop when the milk has expanded and the resistance increases. A large press may not work well with a single serving because the filter needs enough liquid to engage.
Hand whisk
Tilt a bowl so the milk collects in one area and whisk rapidly. This takes longer, but the same stop rule applies: glossy and pourable beats stiff.
Fix cold foam by symptom
| Symptom | Likely issue | Next attempt |
|---|---|---|
| Large, visible bubbles | Frother stayed at the surface too long | Start just below the surface, then move deeper after adding air |
| Foam vanishes immediately | Milk was warm, batch was under-frothed or bubbles were coarse | Chill everything; froth a smaller batch; finish with the whisk slightly deeper |
| Foam is stiff and spoon-clumpy | Too much fat or too much whipping | Stop earlier, or replace part of the cream with milk |
| Foam is thin but smooth | Base may need more aeration | Add another 5–10 seconds while watching the surface |
| Foam tastes overly sweet | Sweetener is masking the drink | Froth unsweetened milk and put sweetness in the coffee base instead |
Different plant milks behave differently even within the same category because their protein, fat, stabilizers and “barista” formulations vary. Treat the package in your refrigerator as its own test: use the same 1/4-cup batch, change only one variable at a time and record whether the foam becomes glossy, coarse or flat.
Flavor variations
Keep the base ratio small and change one flavor element:
- Brown sugar: replace powdered sugar with 1 teaspoon cooled brown-sugar syrup.
- Salted vanilla: add vanilla plus a very small pinch of salt.
- Cinnamon: add a pinch to the drink, then use plain foam; dry spice in the foam can feel gritty.
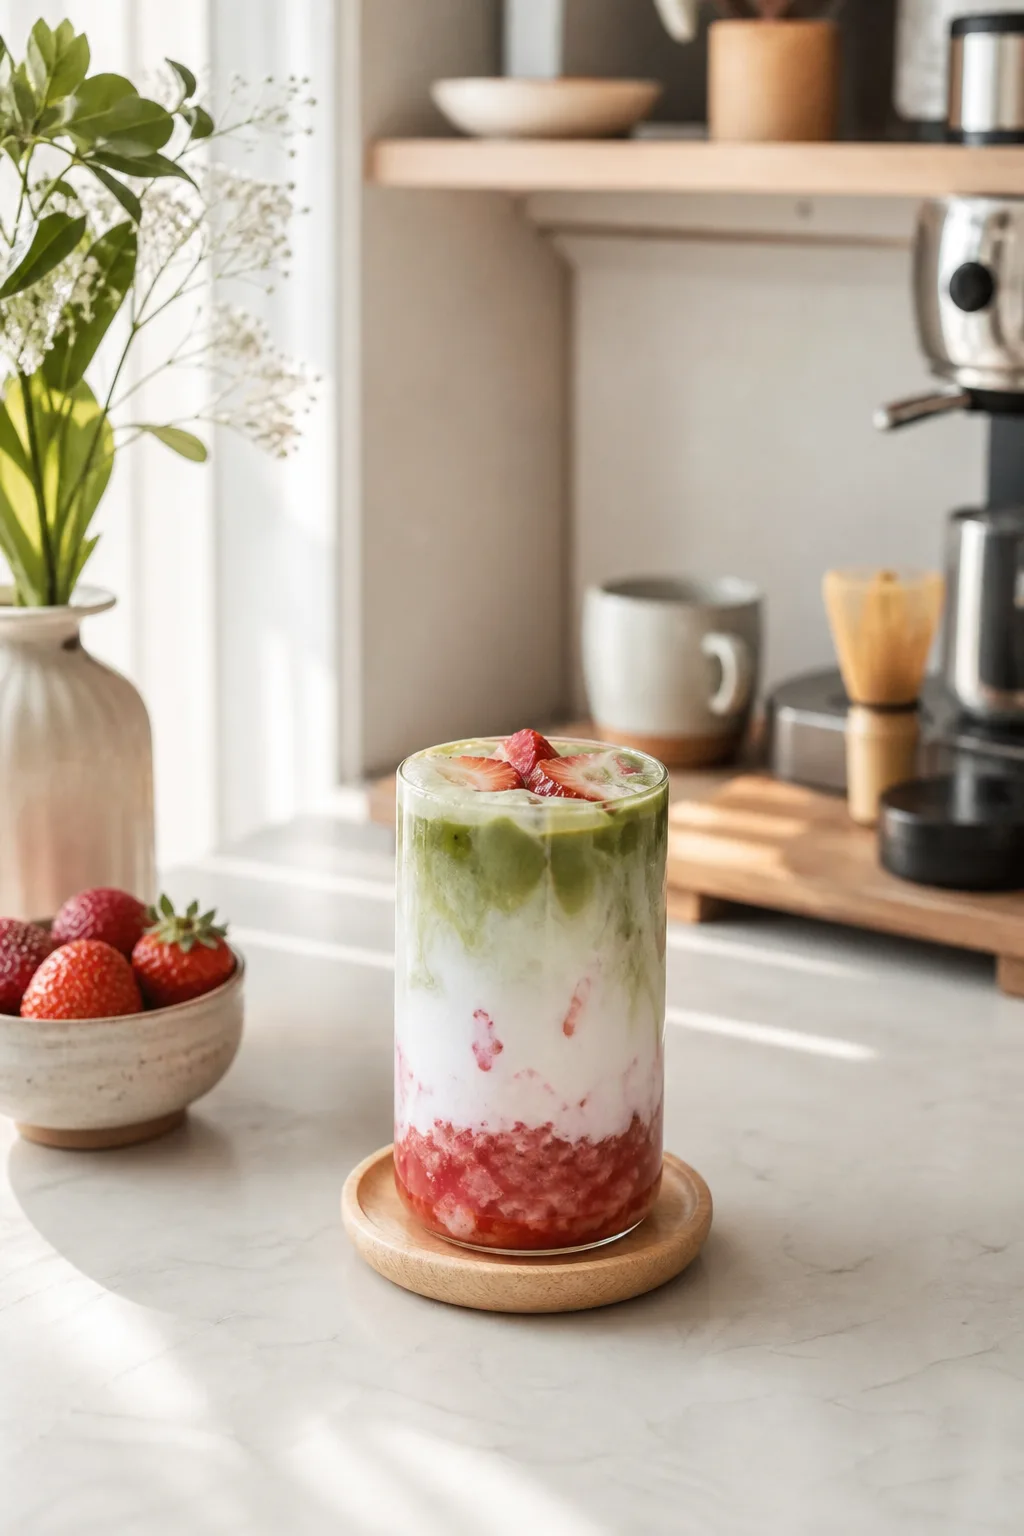
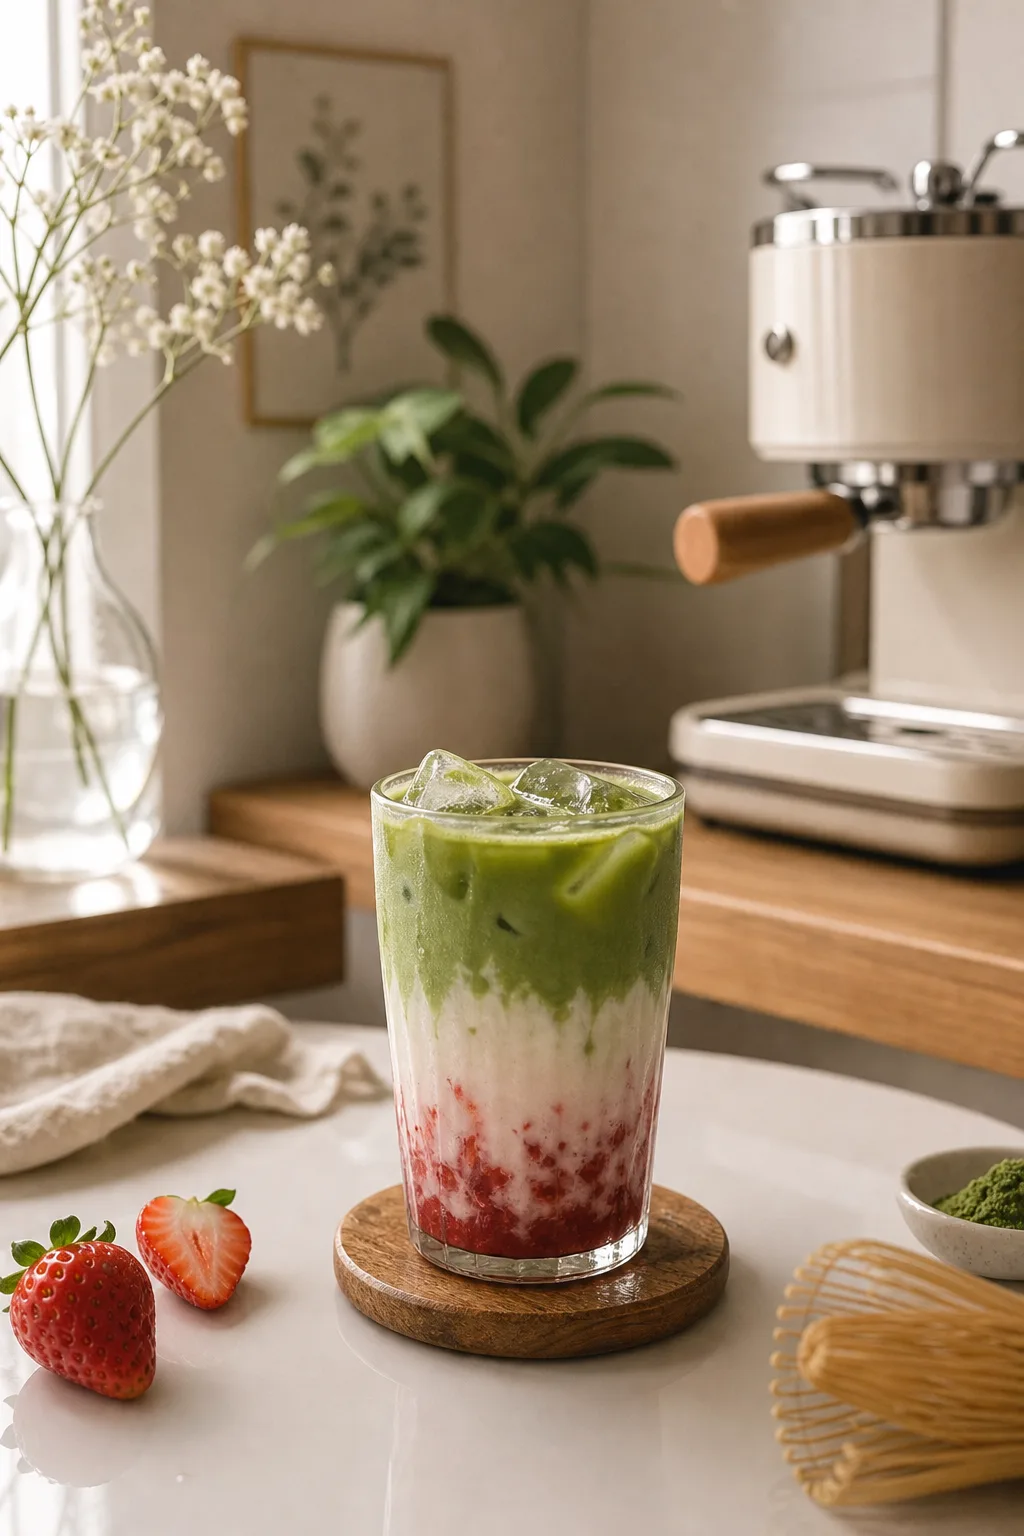
- Strawberry: place strawberry sauce in the drink and keep the foam lightly sweetened so the layers remain distinct.
Thick sauces can weigh down a small foam batch. If you want a pronounced flavor, put most of it in the drink and leave the foam responsible for texture.
Make it fresh and keep dairy cold
Mix flavoring into the milk in advance if that helps your routine, but froth immediately before serving. Store dairy and other perishable ingredients at 40°F (4°C) or below, following USDA refrigeration guidance.
Do not return milk foam that has sat on the counter for a long session to the refrigerator. USDA’s two-hour rule says perishable food should not remain unrefrigerated for more than two hours—or more than one hour when the temperature is above 90°F. When in doubt, discard it and make a fresh 1/4-cup batch.
Once the base works with your milk and frother, write down the exact brand, sweetener and stop point. That small record is more useful than chasing a universal “perfect” time that cannot account for your ingredients or tool.
Continue reading